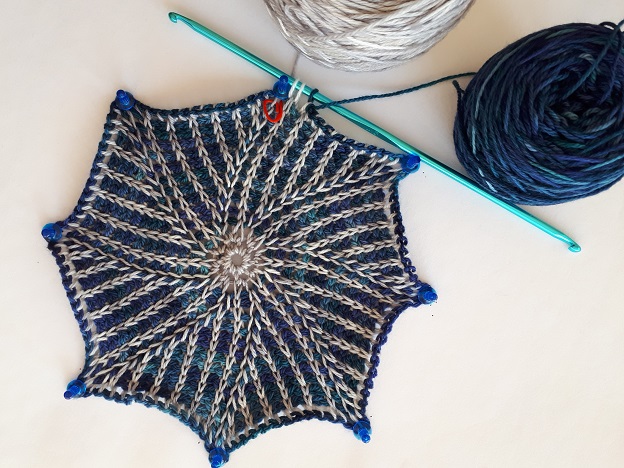
About working in a “spiral”, this technique is often called work in the “round”. Since each new round steps over the previous round continuously, technically it is more descriptive to name it as work in a spiral. You work in rounds, not in rows.
In the short photo tutorial below, I show the technique step by step for the fist rounds. At the end of the page, there is a video I made in French.
To work in a spiral, you need a double-ended hook, straight or flexible, it does not matter much for first practice. Also take 2 balls of the same yarn type. In the same color or in different colors. What matters is to have 2 different threads of yarn. For this tutorial I used 2 colors to highlight the difference between the forward pass and the return pass.
Magic circle (or ring) or foundation rows
You can start your work with a magic circle. To make a beanie for example. The magic circle allows you to start your work from the top of the crown, at the top of the beanie. I show how I make a magic circle in this video in French.
Or you can start with a foundation row and join both ends with a slip stitch. I’ll take back the example of the beanie. You can choose and start from the bottom of the hat, the part that covers the front and ears. It does not really matter which type of foundation row you use. It depends on what you like or what you need. Go and have a look at the page about foundation rows for more details about the different types I share. Because you can start with something else than simple chains.
First round – pick up the first loops
To keep it simple and basic, let’s start with a series of chains. Join both ends with a slip stitch to make a circle.
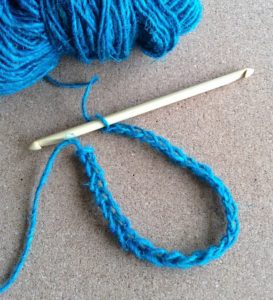
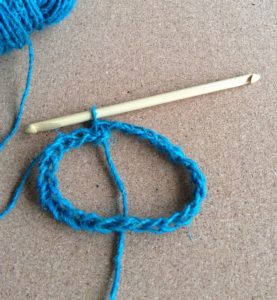
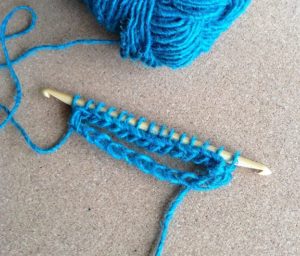
For the first round, just like in single-ended Tunisian crochet, insert your hook into the next chain, yarn over and pull up a loop. Keep this loop on hook and pick up a loop in the next chains in the same fashion. At some point you’ll reach the maximum number of loops that you can pick up on your hook. What is this maximal number? It depends…
- Either the hook cannot hold more loops. Your hook is short and your foundation row is long.
- Or you reached half of the foundation row. Your hook is long and your foundation row is short.
If you use a rigid hook (i.e. without a cable), in any case, it is impossible to crochet round the curve of the circle. You cannot bend your hook to reach the start of the circle.
First round – work the first loops off the hook
In order to keep on crocheting, you need to free up your hook from the loops you have just picked up. To work the loops off the hook, turn the hook and, with the opposite head and a new yarn thread (pink), yarn over and pull yarn through 1 loop. Then yarn over again but this time pull yarn through 2 loops.
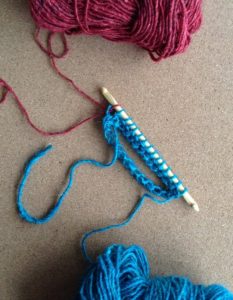
Repeat that last step: yarn over and pull through 2 loops until you have 3 loops left on the hook. Why 3 loops? To keep tension as stable as possible when you turn your work.
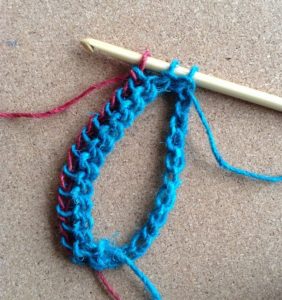
First round – following stitches
To keep on crocheting the first round, turn your work, move the 3 loops towards the opposite end of the hook (the head with which you picked up the first loops with blue yarn) and start picking up new loops with the first yarn. You keep on working in forward pass.
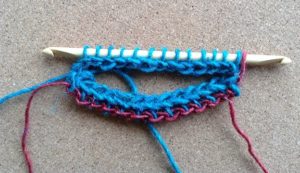
Then, again, when you have reached the maximum number of loops you can pick up, turn your hook and start a return pass. To note: You pull yarn through 2 loops, not one loop anymore. This one loop off the hook is only done at the start of the first return pass.
Second round (and following rounds)
When you reach the end of the first round and there is no loop to pick up from the foundation row anymore, keep on picking up loops but this time under the front vertical bars. Assuming you work your sample in the Tunisian simple stitch. To keep it simple if this is your first try. You can work any stitch you like and pick up you loops differently by inserting your hook in a different place than the front vertical bar.
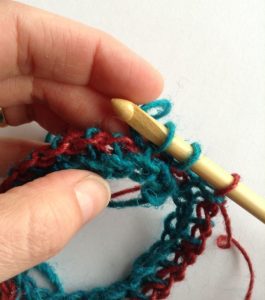
Same story as in round 1: when you cannot pick up more loops on your hook on the forward pass, turn your hook, grab the other yarn and start a return pass. To note: no need to match forward and return passes with rounds. You can make as many forward passes and return passes as you wish in the same round.
About the first loop of the return pass
When you turn your work to start a new return pass, the loop on hook that is linked to the yarn used for the return pass is probably loose, extended. Don’t hesitate to give it a tug to ensure even tension in all return pass chains.
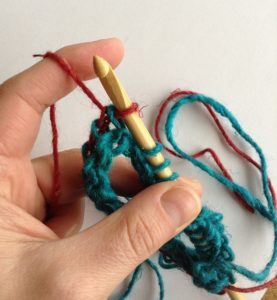
Yarn threads may get tangled up
When you turn your work to start a forward pass, turn it in one direction. When you turn your work to start a return pass, turn it in the opposite direction. If you always turn your work in the same direction (let’s say clockwise), the yarn threads will tangle up around each other.
Worth keeping in mind
When you are busy with a forward pass, the right side of work is facing you.
When you are busy with a return pass, the wrong side of work is facing you.
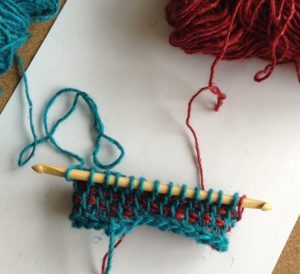
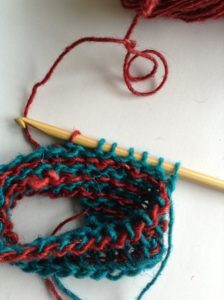
The first few rounds are the most difficult to make. There is not a lot of fabric. It is not easy to “read” your work. But after a few rounds, it becomes clear.

