I usually take care NOT to felt my Tunisian crochet projects. Most of the time, I hand wash my wool items. Yet felting is not a bad thing to avoid at all cost. It can turn a project into something really nice. I have made a small felting experiment with one of my latest Tunisian crochet beanie patterns, Décagone. And in this article I’m sharing with you all the details about it.
My choice of yarn to felt
You cannot felt any type of yarn. You need wool. This type of fibre has tiny scales on their surface. Felting will open these scales and create tight links in between these scales, shaping a dense and plain fabric.
Other types of fibres, such as cotton, linen and some synthetic fibres like nylon, will not felt. At least not with a home-made process without chemical products. To note: some types of wool are labelled “superwash“. In other words, they have been chemically treated to prevent wet felting. Normally you can safely wash this type of wool in a washing machine. That is, in a special wool programme. Because I doubt this kind of wool would resist against felting at 60°C for 1 hour in a washing machine… In any case, always check what is mentioned on the yarn labels.
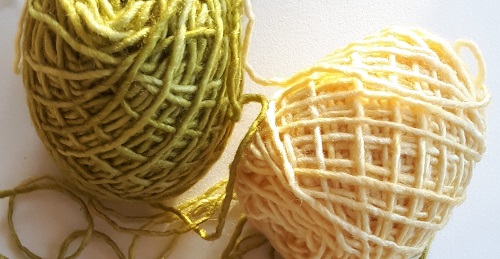
Since my target was to wet felt a Tunisian crochet beanie, I selected a yarn I knew would easily felt: Silky merino from Malabrigo. It is made of 51% silk and 49% merino wool. Note that you don’t have to use yarn made of 100% wool. Blends of wool with something else than wool felt equally well. Also this yarn is a single ply, so it felts more easily than multiple ply yarns. Since I had enough of this yarn in my stash to make a beanie, I did not look further to start my experiment with wet felting.
My choice of Tunisian crochet pattern
I recently published 2 new patterns on Ravelry: Décagone and Arches gothiques. These are beanies made with a double-ended Tunisian crochet hook, worked in the round, from the top of the crown down to the hat band.
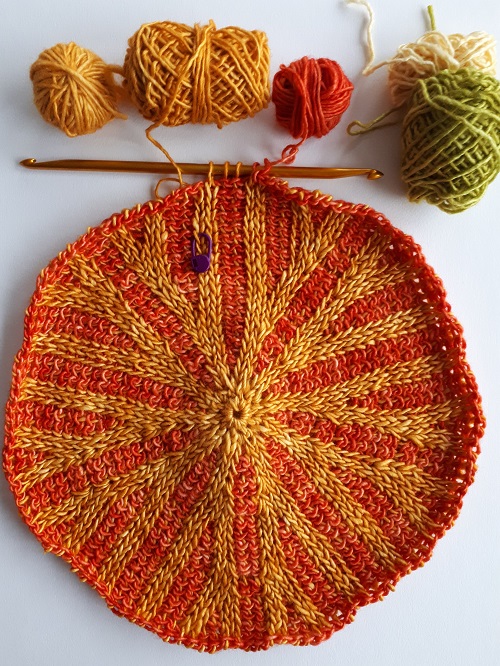
I decided to make a Décagone beanie for my experiment. The thing is that felting implies that the project shrinks. If I make a TC beanie in a size that fits my head, I’ll end up with a felted beanie that is too small for me. So I used a bigger hook (6 mm) to have a soft fabric, less dense than in the original design. And I made an extra big crown.
The shrinkage ratio
What is difficult to assess is the shrinkage ratio. What is the ideal size of a Tunisian crochet beanie BEFORE it is felt to reach the desired measurements AFTER it is felt? I could (should?) have made several samples to assess what this ratio would be. Instead I was a bit lazy in this case. I decided to just do a big beanie and see what it turns into after felting it. In the worst case scenario, I would end up with a pot holder or something I would convert into I don’t know what. Something made of silk and merino wool…
Felting Tunisian crochet
My friend Adèle has told me many times, there are 3 key elements to wet felt wool: moisture (with soap), friction and heat. If you combine these 3 things together, you get a felted fabric.
I first thought I would hand wash my beanie. With a bit of soap and hot water. But then I thought that using my washing machine would be easier to reach my target and felt my beanie. Yeah, I have been a bit lazy in this experiment. My idea was to select a programme at 60°C for 1 hour or so, the kind of programme for heavy cotton items. But I first called Adèle to check if this was wise. She advised me I should try and felt my project little by little and start with a soft programme, like “special wool” at 20°C for 20 minutes, no warmer, no longer. I always listen to what Adèle suggests. Even if I’m skeptical, I take her sound advice into account in my experiments.
So I put my beanie in my washing machine with a few other cotton items (for friction) and gave it a go at 20°C for 20 minutes. What came out of it is this:
I got a very small beanie, not even big enough to fit the head of a newborn. Something ugly, without any shape. Disappointing! What do I do with that? Ugh…
Blocking after felting
Blocking allows you to give the shape you want to your project, whether it is felted or not. In this case, I could not use pins or cables. The shape of a beanie is very specific. I took a small basic round salad bowl from my kitchen and started to shape my shrunk beanie around it. It gently grew thinner and wider. I pulled on the edge to make it bigger (deeper) and managed to get a beanie big enough to put it on my head. At some point I felt I reached a limit in the expansion properties of the beanie.
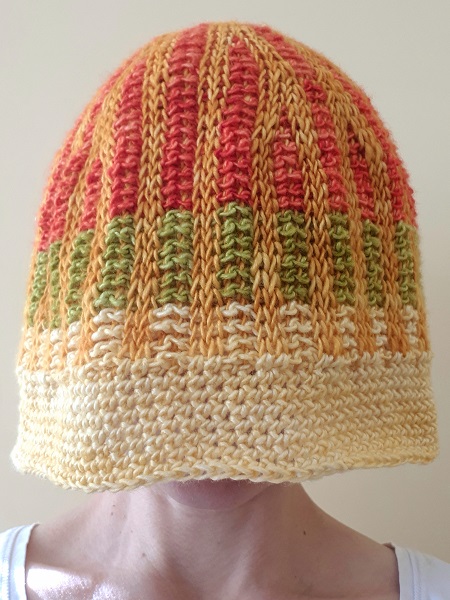
I feared it would shrink while drying. So I kept the beanie on my head and used a hair dryer to dry it. I regularly pulled on the hat band to keep it as long as I could. But the awful truth is: the beanie is too short! Zut! You cannot “unfelt” a project, you cannot undo a few rows to add more rows. It’s too short…
Second felted beanie
Since I had grown in experience with my first beanie, I decided to give it a try with a second beanie. Same yarn, same hook, same pattern. The only difference is that I planned to make it longer. I had only very little yarn left but had hopes it would be enough.
Well, no, I did not have enough yarn to make the same beanie longer. I used up all the yarn I had in my stash and ended with a bit of a tiny skein in one color in single crochet stitches. I reached 25 cm in depth. Not bad…
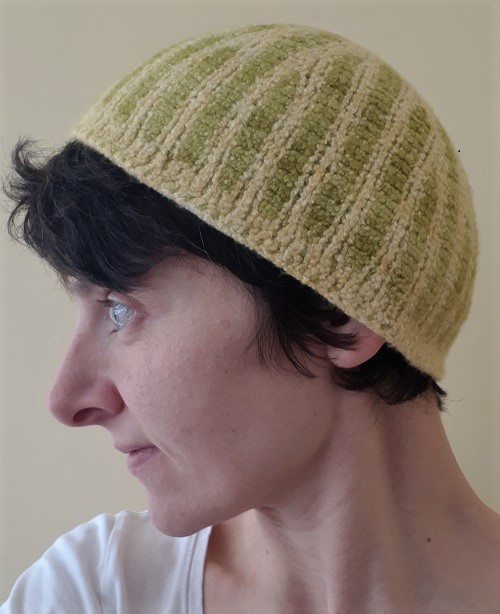
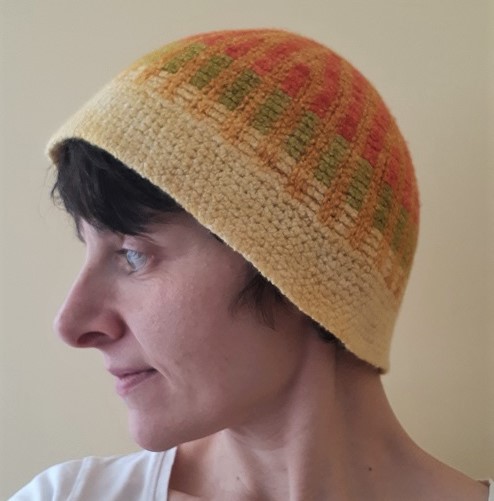
I treated my second beanie the same way I treated the first one: same washing machine programme, same temperature, same time, same everything. And I got a wearable beanie right out of the washing machine. I then noticed I had completely forgotten to work decreases to make the head band a wee bit smaller. Sigh.
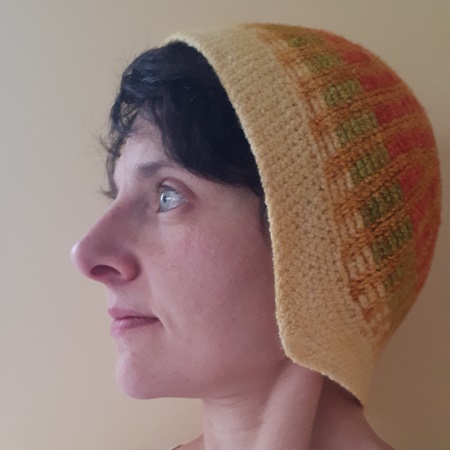
A felted beanie is a bit like some play dough. While it is wet, you can give it the shape you like (to some extent, all the same). So I pulled on the hand band to extend the part next to my jaws, to shape the hat like some vintage beanies I had seen in my grandmother wardrobe.
The idea was to keep the shape of the crown as it was but to pull on the hat band to get my ears covered. I hang the beanie with 2 spins at the points I wanted to extend in the hat band. I thought I would add some weight in the beanie to further extend these 2 pointy edges, but I feared this would modify the shape of the crown (which was perfect). So I just left it to dry slowly. Felted items take a lot of time to dry… For this beanie, I had to wait 2 days.
I may try to felt this second beanie one more time. I have not made up my mind yet. We’ll see. For the moment I keep it as it is.
Conclusions
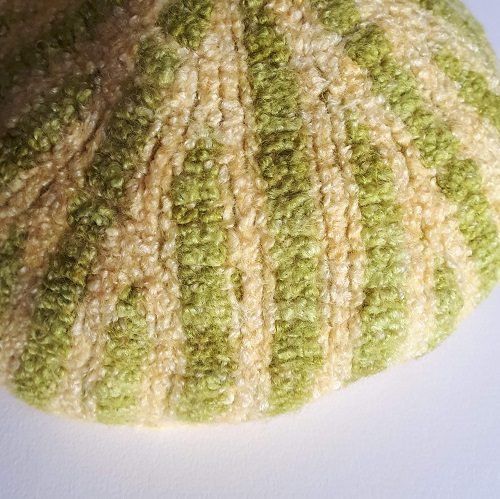
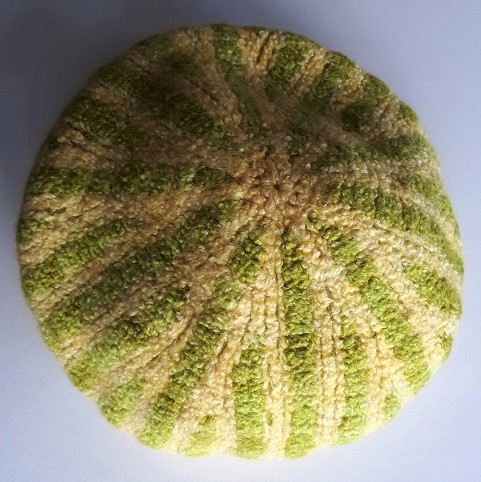
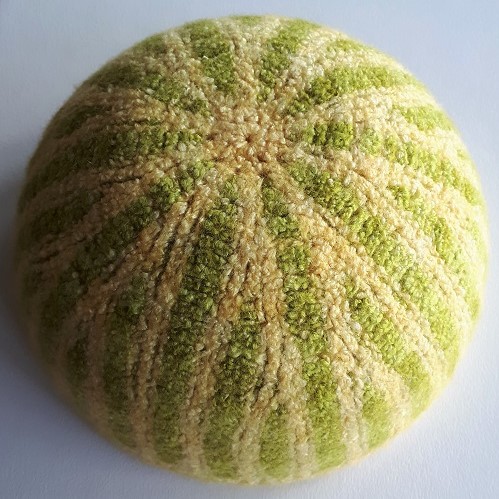
A felted Tunisian crochet project has a very nice texture, soft and smooth. It may not be as fluid as a non felted fabric, but all the same. To the touch, it reminds of a good felted fabric.
The stitch definition completely disappears. If you plan to felt a Tunisian crochet project, focus on the use of multiple colors rather than a specific stitch pattern. Colors will remain. Texture will change.
This experiment also shows how careful you must be with your finished projects. If they are made of wool (non superwash wool), don’t use your washing machine. Play it safe and hand wash your precious handmade items. Follow the instructions given by manufacturers on yarn labels. In case of doubt, hand wash. Unless you want to wet felt your project on purpose.
A felted item is like play dough. As long as it is wet, you can give it the shape you like. To some extent. You will not turn a small disk into a giant square, but you have some room to shape your project. So don’t despair or get too quickly disappointed when you see what you get from your washing machine.
And one last word: share your experiments about felting Tunisian crochet items. In a comment in the below article. Or in the Tunisian crochet explorers group on Ravelry. Whether felting is obtained by accident or on purpose, all experiences are welcome. I thought about felting beanies, but many other accessories can be felted: mitts, shoes, bags… What kind of projects would you wet felt?

